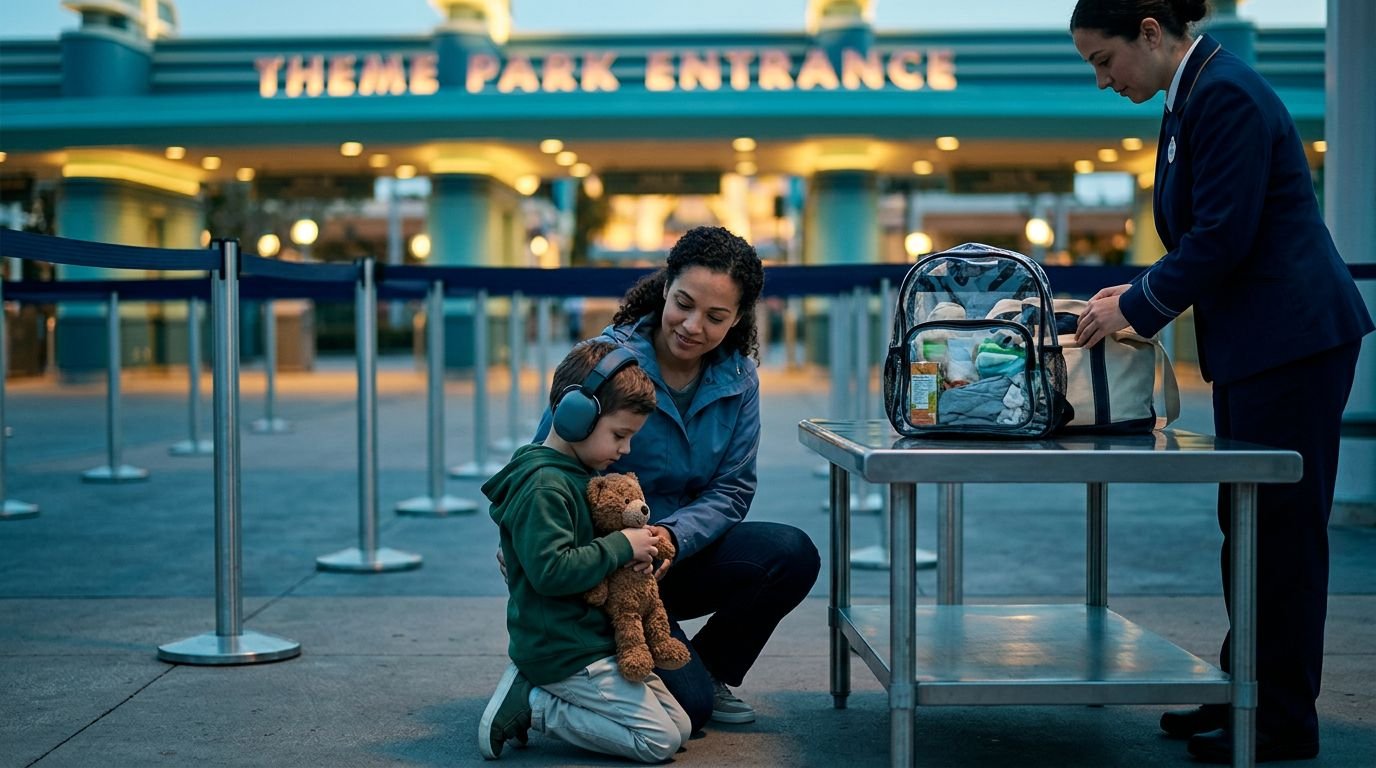
Security is often the first crowded, noisy, and unpredictable part of a Disney park day. For autistic guests and families managing sensory sensitivities, that short stretch before the gate can feel bigger than it looks.
A little preparation can make the Disney security sensory sensitivities experience feel more familiar and less stressful. Whether your family is navigating the challenges of sensory processing disorder or simply seeking a more predictable start, you cannot skip the screening process. However, you can reduce surprises, protect your child’s comfort items, and give everyone a clear plan before you arrive.
Key Takeaways
- The Disney security line is required for all guests, including children and guests using strollers, wheelchairs, or scooters.
- Talk through the process before your trip using simple, honest language and a visual plan.
- Keep bags organized so security can inspect them quickly without digging through loose items.
- Noise-reducing headphones, comfort items, snacks, and a charged phone can help your child reset after the checkpoint.
- If the line becomes overwhelming, step aside when possible and ask a Cast Member for calm, clear guidance.
Start Preparing for Disney Security Before Travel Day
The security checkpoint should not be your child’s first surprise of the morning. Explain it before your trip, then explain it again in simple terms the day before you visit a park.
You might say, “First, we will walk to a security line. A Cast Member may look inside our bag. Then we will walk through a scanner. After that, we go into the park.”
Keep the explanation short. Too many details can create more worry. Your child does not need a speech about every possible outcome. They need to know what they will see, hear, and do.
Disney uses security screening technology at park entrances. At Disney World and Disneyland, guests typically walk through Evolv screening equipment while bags may be checked separately. Disney can also ask for an additional inspection if the scanner alerts. Review Disney’s current park security procedures before you leave home, since processes can change.
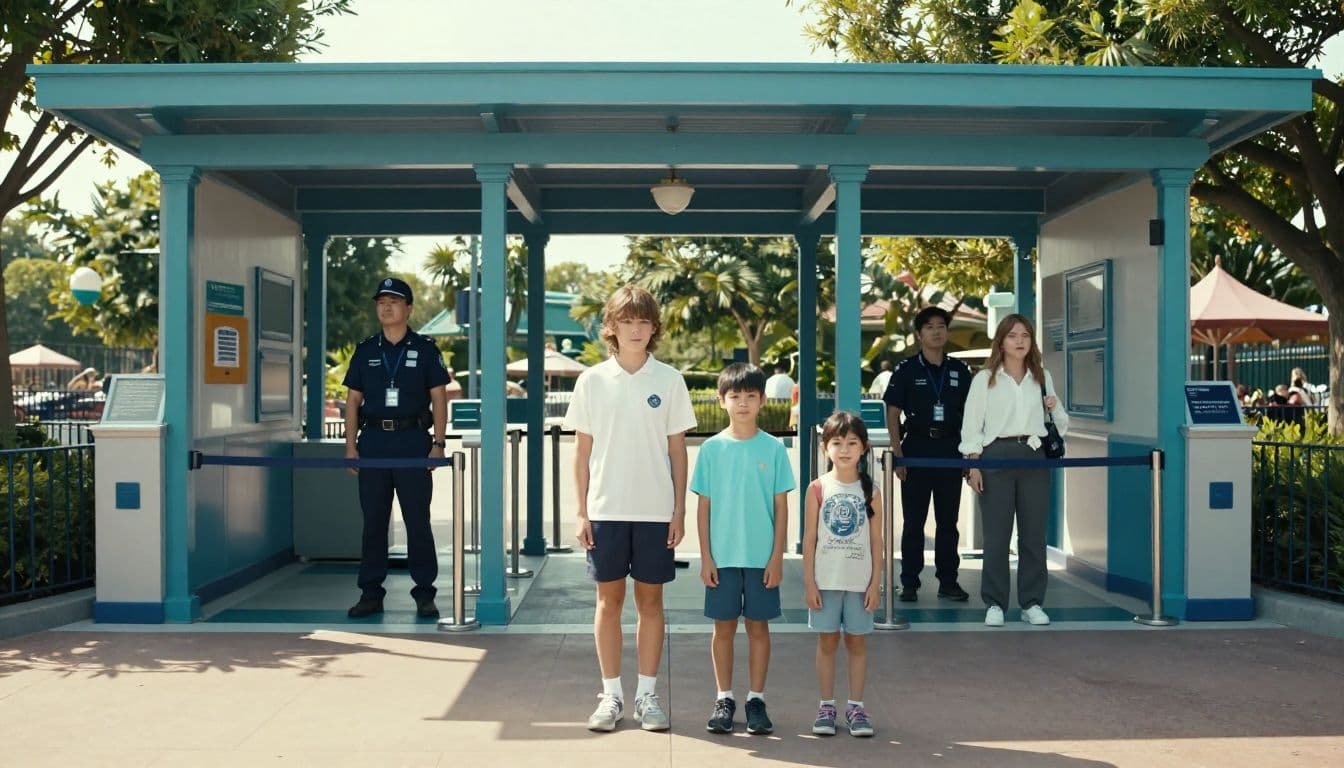
A visual schedule or social stories can help, especially for younger children and guests who like to know what comes next. Use photos from your own past Disney visit if you have them. You can also draw four simple boxes on paper:
- Walk to security.
- Open the bag.
- Walk through the scanner.
- Go to the park gate.
Practice the routine at home if that feels helpful for your neurodivergent child. Put a backpack on the kitchen table, unzip it, take out a phone or water bottle, and walk through a doorway together to simulate a Disney security line. The goal is not to make it perfect. The goal is to make the process feel less new.
It also helps to choose your arrival time carefully. Getting to the park extremely early can mean a busy crowd of guests waiting for rope drop. Arriving a little later may mean lower entry pressure for some families, although wait times inside the park can rise as the morning goes on. Some families even prefer to arrive later in the day, scheduling a midday break to avoid the morning rush entirely. Pick the pace that works for your child.
A calmer arrival is often more valuable than being first in line for an attraction.
Know What Happens at the Disney Park Checkpoint
Disney security is not the same as airport security. You generally will not need to remove shoes or unpack every item from your bag. Still, guests must follow the instructions from the security Cast Members at their entrance.
At some locations, your family may walk through a scanner while a Cast Member checks your bag. At others, you may be directed to a second screening area. A stroller, wheelchair, ECV, or medical equipment may need an extra look. This can add a few minutes, so build that time into your morning.
The environment can be overwhelming for a sensory-sensitive guest. You may encounter loud noises such as people talking, strollers rolling, scanner alerts, radios, and Cast Members giving instructions. Security canines may also be nearby. These dogs are working, so remind children that they are not there to pet or play with. Between the dogs, scanners, and crowds, there are several potential sensory triggers to consider.
If your child is sensitive to being watched, explain that security staff may look into bags and ask your family to move to a certain spot. That does not mean anyone is in trouble. It is simply part of getting everyone safely into the park.
Disney security screening does not have a sensory-specific exemption. The Disability Access Service, often referred to as a DAS pass, is designed to provide a return time for a Lightning Lane; it does not replace or bypass the entry screening process. It is important to set that expectation early, especially if your child has used these services on a previous visit.
Disney’s access policies and registration steps can change. Families planning to use these services should check current details before travel and avoid depending on old social media advice. The Disneyland autism guide from Autism Speaks also offers helpful family-focused ideas for preparing for a busy park environment.
Whether you are visiting Disney World or Disneyland, be ready to follow the instructions at the specific checkpoint you enter. Screening practices and the type of equipment used can differ by entrance and by resort. Stroller and mobility-device guests may have a separate lane during some periods, so let a Cast Member direct you rather than trying to guess where to go.
Pack Bags That Are Easy to Check
An overstuffed park bag can turn a quick bag check into a long and uncomfortable pause. You do not need to travel light at the expense of your child’s needs. You do need to make every item easy to find.
Use one main bag when possible. Keep items in a few clear categories instead of filling every pocket with loose supplies. A small pouch for medication, a snack pouch, and a tech pouch are easier to inspect than a bag full of separate items.
Consider packing the following items near the top:
- Noise-reducing headphones or ear defenders your child already knows and likes
- A familiar comfort item, such as a small plush, fidget, or soft hoodie
- A refillable water bottle and safe snacks for a quick reset after screening
- Medication carried as directed by your child’s care team
- A portable charger for the My Disney Experience app, mobile ordering, maps, and family communication
Avoid packing prohibited items by accident. Disney does not allow weapons, drones, folding chairs, selfie sticks, or toy weapons that look realistic. Rules can vary by park and may change, so check the official list before packing.
If your neurodivergent child brings a special item for comfort, keep it accessible. Security may need to look at it, but you do not want it buried underneath sunscreen, wet wipes, and snacks. Tell your child ahead of time that security may look at their item, and then they will get it right back.
That one sentence can prevent a hard moment.
Families who want a more detailed planning resource can use the Disney World With Autism Guide PDF on Etsy or the Disney World autism travel guide on Amazon. Both can be useful when you are building a plan around sensory needs, DAS, transportation, breaks, and park-day routines.
Reduce Sensory Stress While You Wait
Security lines can move quickly, then stop without warning. That change in pace while waiting in line is hard for many children. Give your child one simple job while you wait. They can hold a small fidget, carry the park tickets, look at a photo of the first attraction, or choose a snack for after the checkpoint.
Headphones can help before the environment gets loud. Do not wait until your child is already experiencing sensory overload. If they do not enjoy headphones, sunglasses, a hat, or standing close to a trusted adult may be enough to manage the noise, which can sometimes be as startling as nearby fireworks.
Keep your language calm and direct. Try, “We have two families in front of us.” Then, “Our turn is next.” Avoid promises you cannot control, such as saying the line will be fast. A bag inspection or scanner alert can happen, even when your family has done nothing wrong.
If your child needs more time, step to the side before entering the main screening lane if space allows. Take a drink of water. Offer a familiar snack. Let them hold the comfort item. When they are ready, rejoin the line.
Cast Members are used to helping families, but they cannot always stop the checkpoint or change the required process. Be clear about what would help. You might say, “My child is sensitive to noise. Could you please tell us where to stand?” A simple request gives the Cast Member something practical to do.
After security, do not rush into a long standby line. Pause for a few minutes. Take a family photo near the entrance, find quiet places to regroup, or use the restroom before moving deeper into the park. Taking short sensory breaks like this gives your child time to recover from the first transition of the day.
Have a Backup Plan for a Hard Moment
Even with careful planning, a child may refuse to enter the scanner, panic during a bag check, or become upset by a nearby dog. If your child experiences meltdowns in high-pressure environments, remember that this does not mean the day is ruined. It simply means your family needs a pause to reset.
Choose one adult to handle the bags and security directions. Let the other adult focus on the child when possible. If you are traveling solo with children, keep the plan even simpler by using one bag, fewer loose items, and short directions.
Do not feel pressured to explain a diagnosis or sensory needs to strangers. You can speak for your child. Keep the conversation focused on the immediate need, such as requesting extra time, clear instructions, or a brief break. While utilizing a DAS pass is an excellent way to manage wait times for the rest of your park visit, security remains a separate process that requires its own calm approach.
Your first park goal should be something low-pressure. Watch a parade float pass by, visit a familiar shop, grab breakfast, or sit in a quieter area. Starting with a favorite high-demand ride may add unnecessary stress after an already difficult entry.
A Disney day is not a test of how many rides your family can complete; it is a shared experience. A slower, more intentional start can still lead to a wonderful day for everyone.
Frequently Asked Questions
Does the DAS pass allow my family to bypass the security checkpoint?
No, the Disability Access Service (DAS) is designed for attraction wait times and does not provide an exemption from security procedures. Every guest is required to undergo the same screening process, regardless of their DAS status.
Can I request a private screening if my child is overwhelmed by the security area?
While you can always ask a Cast Member for guidance or a quieter spot to stand, Disney does not typically offer private security screenings. It is best to prepare your child for the standard process by using visual schedules and practicing at home to reduce the anxiety of the unexpected.
How can I prepare my child if they are afraid of the security dogs?
If your child is sensitive to animals, remind them that the security dogs are working professionals and should not be touched or approached. Mentioning that the dogs are just there to help keep the park safe can often help frame their presence in a less intimidating way.
What should I do if my child has a meltdown during the security check?
If your child becomes overwhelmed, focus on remaining calm and keeping your directions simple and brief. Step aside if space permits to offer comfort items or a quick break, and remember that you can explain your child’s sensory needs to a Cast Member if you need a moment to regroup.
A Calm Start Changes the Whole Day
Preparing for Disney security when navigating sensory sensitivities begins with honesty, consistent routines, and the ability to pause when needed. Take the time to explain exactly what the security process looks like so there are no surprises. Pack your belongings in a way that protects essential comfort items while ensuring that bag checks remain quick and easy for the park staff.
The security checkpoint may only take a few minutes to navigate, but it effectively sets the tone for your entire experience. With a familiar plan in place and a calm adult by their side, your child can begin the day feeling fully supported rather than rushed or overwhelmed. A little extra patience during these first moments helps ensure the rest of your visit remains stress free.