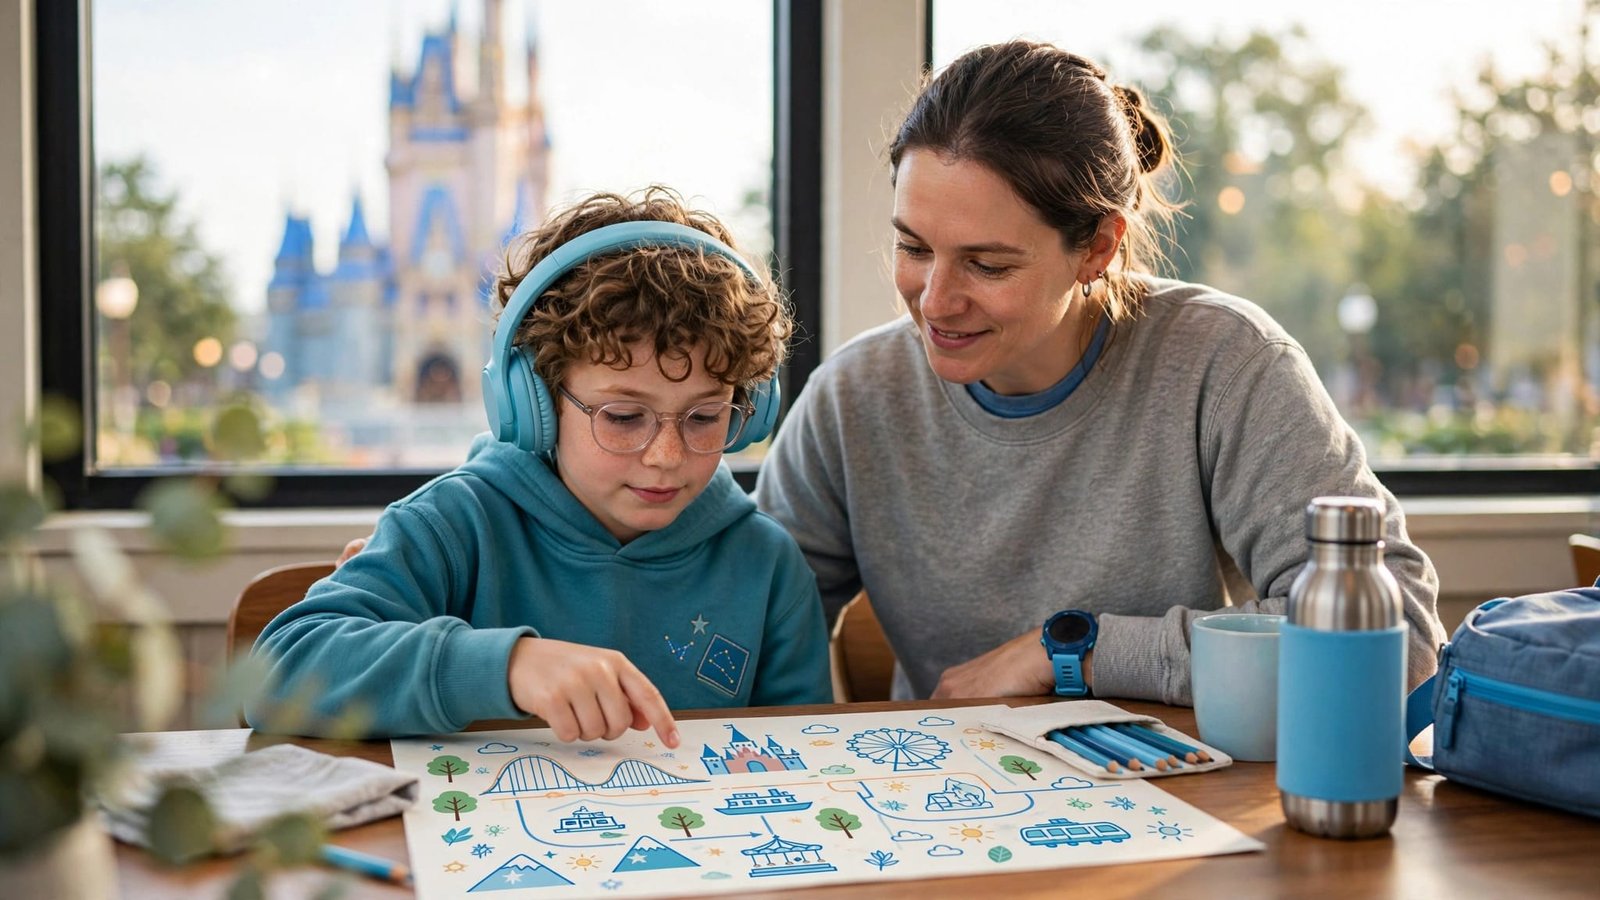
Preview Walt Disney World Resort maps with your child on the autism spectrum in short sessions. Focus on one small area at a time. Mark familiar needs first, including bathrooms, food, breaks, and the way back to your resort.
Your child doesn’t need to memorize the park to feel more prepared. A simple map and flexible plan can make unfamiliar surroundings easier to understand.
Start by previewing one small area of a Disney World park map together. Then build a park day around your child’s comfort.
Key Takeaways
- Download Disney’s accessibility guide maps and show your child a small section at a time.
- Connect attractions with nearby bathrooms, possible break areas, and a clear exit route.
- Use a visual schedule with room for changes, and plan accessibility support separately from your map practice.
Step 1: Find Printable Disney World Park Maps
Download the Accessibility Guide Maps
Disney’s accessibility services page provides downloadable accessibility guide-map PDFs for Magic Kingdom Park, EPCOT, Disney’s Hollywood Studios, and Disney’s Animal Kingdom. Printed copies are also available at Guest Relations. Ask a Cast Member at Guest Services where to get a copy or find current map information.
Use the downloaded PDFs as study location maps before your visit. Open the PDF for your chosen park, save it, and print a copy your child can explore without needing a phone.
Keep the My Disney Experience app available for interactive maps, showtimes, and mobile food ordering during your visit. A printed map provides a useful backup when your phone is needed for something else.
Make the Map Easier to Read
A full park map may contain more information than your child wants. Fold the page or print an enlarged section of your first planned area.
Invite your child to find a recognizable landmark, then trace a short route between planned stops. Simple symbols, such as a bathroom picture, snack symbol, or familiar break card, may be easier than written notes.
Keep an unmarked copy for adults. Your child’s version can focus on a few meaningful stops without every attraction competing for attention.
Step 2: Practice One Comfortable Route
Show What Happens Between Attractions
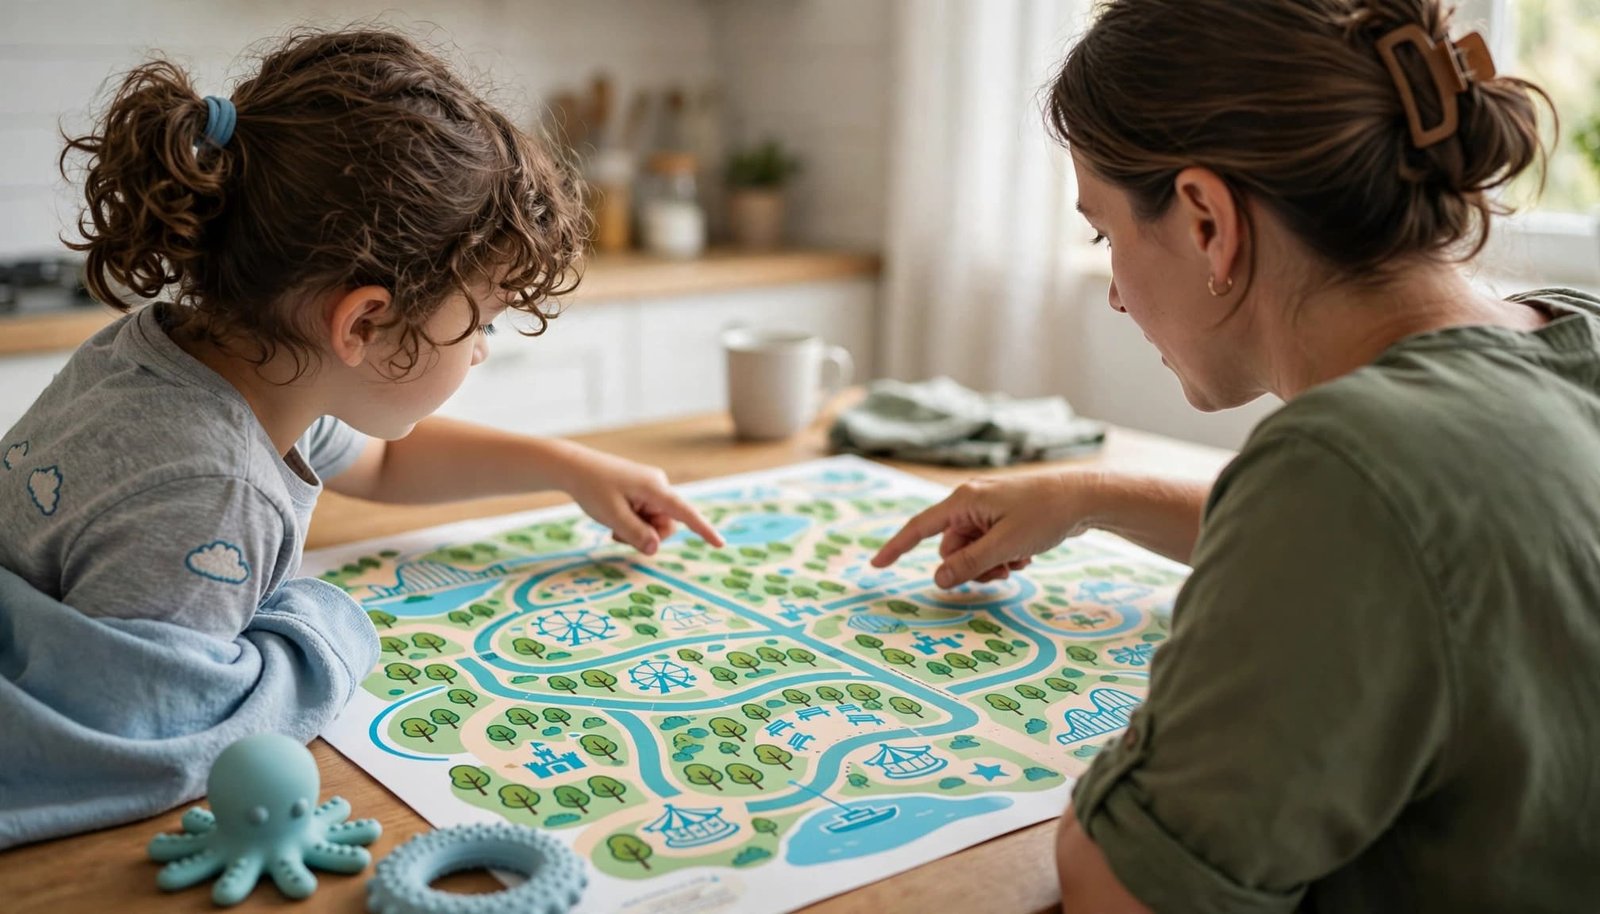
Start at the entrance and trace the route to one planned attraction. Point out a landmark and a nearby bathroom or place to pause.
Explain each transition in familiar language: “We’ll enter, use the bathroom, and walk to our first ride.” A social story can also explain the route and what happens between stops.
Pair map locations with attraction photos or short videos when those help your child. Preview sounds, darkness, movement, and waiting areas, not just the ride’s appearance.
Let your child identify something interesting, too. Preparation should include enjoyable choices alongside the parts that need extra support.
Practice Waiting in Line and Choose a Meeting Location
Disney recommends practicing waiting at home or in familiar places, such as the grocery store. Use the same communication tools or activities you plan to bring.
Practice manageable waits without pushing through distress. The goal is familiarity with the routine.
Choose a clear meeting location for your travel party and mark it on the adult map. Explain which adult stays with your child and how other family members will reconnect after separate activities.
Step 3: Build a Flexible Visual Schedule
Start With Events You Already Know
Disney’s planning guidance for neurodivergent guests recommends beginning with known events. These may include transportation, park entry, and planned parade or show times. If your ticket type currently requires a Theme Park Reservation, check that requirement before finalizing the schedule.
Add possible attractions after those fixed events. Place bathroom visits, meals, and breaks between activities instead of treating them as interruptions.
Use pictures your child recognizes. Actual photos, familiar symbols, or simple drawings can all work.
Match the amount of detail to your child. Some children appreciate the whole day. Others feel more comfortable seeing only the next two activities.
Practice Changes Before the Trip
Include a question mark or change card in the schedule. Explain that weather, attraction closures, or family needs may change the order.
Practice replacing an activity during an ordinary outing. Keep your explanation short and offer a manageable choice when possible.
Our ideas for using a Disney autism guide can help you connect maps, photos, and daily routines before departure.
Keep optional attractions visibly separate from definite plans. That distinction can reduce disappointment when your family needs a slower day.
Step 4: Mark Break Areas and Companion Restrooms

Identify Possible Places to Pause
Mark more than one potential break location. Walking across the park for a particular bench may add stress when your child needs support nearby.
Disney identifies these possible areas for taking a break:
| Park | Areas to mark on your map |
|---|---|
| Magic Kingdom | Center Street on Main Street, U.S.A., and Miner’s Cove in Frontierland |
| EPCOT | World Nature, between The Seas with Nemo & Friends and Coral Reef Restaurant |
| Disney’s Hollywood Studios | Near The Hollywood Brown Derby and between Toy Story Land and Galaxy’s Edge |
| Disney’s Animal Kingdom | Areas throughout Discovery Island |
These are possible pause spots, not guaranteed quiet rooms. Noise and crowds vary throughout the day.
Plan when to take a break before your child shows their usual signs of overload. After a busy attraction or crowded show may be a helpful place in the schedule.
Locate Private Bathroom Options
Companion restrooms are single-stall, gender-neutral facilities with additional room and privacy. They can help when your child needs caregiver assistance or struggles with shared bathrooms.
Use the park map and My Disney Experience app to identify restroom locations near your planned activities. Mark a backup so your family has another option if one is occupied. Adults can also mark the First Aid Center for health-related needs and confirm its current location with Disney.
Preview bathroom routines alongside attractions. A familiar toileting plan can be more useful than another ride on the schedule.
Step 5: Understand DAS and Other Queue Support
Register Through Live Video Chat
Disney’s Disability Access Service, or DAS, supports eligible guests who cannot wait in a conventional queue for an extended period because of a developmental or neurodivergent disability, such as autism.
An autism diagnosis alone doesn’t guarantee approval. Disney determines eligibility based on the guest’s queue-related needs.
Registration is handled through live video chat, not in person at Walt Disney World. Check Disney’s current DAS guidance for registration timing and any available DAS Advance registration or attraction-selection options before your visit.
The guest requesting DAS must participate. For a child, an adult age 18 or older handles registration.
Describe your child’s actual needs honestly, including what happens during extended waits.
Connect Return Times With Your Map
Once approved and in the park, eligible guests can request one DAS attraction return time at a time through the My Disney Experience app. After using it, they can request another.
Use your map to find nearby places to wait comfortably. The registered guest must be present and ride when the return time is used.
DAS doesn’t provide immediate boarding, and some waiting may remain. The Guest Experience Team can answer questions during your park visit, but it can’t grant DAS.
Rider Switch allows groups to take turns riding while someone stays with a non-rider. A Stroller as Wheelchair accommodation uses the official tag wording, “Stroller as a Wheelchair,” for eligible guests who need their stroller as a mobility device in attraction queues. These are separate accommodations with attraction-specific instructions.
Genie+ is the former name for Disney’s paid Lightning Lane service. Check Disney’s current Lightning Lane offerings before your visit.
Step 6: Prepare Your Park Bag, Meals, and Rest
Pack the Supports Your Child Already Uses
Pack familiar supports for your child’s sensory needs, such as ear plugs or headphones and a sensory toy. Add preferred activities or reinforcers, communication tools, and a safety bracelet or nametag with caregiver contact information.
Pack a portable charger because your phone may hold maps, tickets, food orders, and return times. Keep a printed communication backup accessible if your child uses one.
Our family travel shop includes travel items such as strollers and cleaning supplies for unexpected illness during vacation.
Packing is only part of preparation. Include a rest day during a seven-day trip, and leave room for early departures. For thunder-sensitive children, build weather-related changes into the visual schedule.
Keep Food and Bathroom Routines Familiar
Guests with food allergies or intolerances may bring food into the parks. Under Disney’s special dietary request guidance, Cast Members cannot store, prepare, cook, heat, or reheat food brought by guests.
Request dietary accommodations when booking dining reservations. At most table-service restaurants, you can also discuss needs with the chef or manager.
Mark meal locations near planned activities to avoid unnecessary walking. Our approach to planning for multiple support needs can help families balance sensory, mobility, communication, and medical considerations.
Extra Support for Your Family’s Disney Plan
We help families build personalized Disney plans around their needs, including transportation, breaks, dining, and accessibility questions.
For planning at your own pace, our Disney World with Autism: The Complete Family Guide is available through our Disney autism guide on Etsy and our Disney autism guide on Amazon.
Use it alongside your park maps to organize sensory supports, daily routines, and realistic park goals. These family-focused resources offer preparation ideas rather than official Disney policy.
Frequently Asked Questions
What If My Child Doesn’t Enjoy Looking at Maps?
Use photos or a short picture sequence instead. Your child may respond better to pictures of transportation, a bathroom, a favorite attraction, and the hotel.
Adults can use the detailed map while the child follows a simpler visual plan. Let your child’s response guide how much information you introduce.
Does DAS Include Tickets or Transportation Access?
DAS doesn’t include park admission. Your family still needs valid admission for the parks you visit.
It also doesn’t provide priority boarding for buses, boats, the monorail, or Disney Skyliner. Include transportation waits and transitions in your preparation, even when DAS is part of your attraction plan.
A Park Plan That Supports Your Child
Previewing Disney World maps works best when the information connects to your child’s everyday needs. Familiar routines, nearby breaks, and clear next steps can make the day more comfortable.
Start with one small section and build a flexible plan together. A successful Disney visit leaves room for your child to enjoy the park at a pace that works for your family.
Leave a Reply