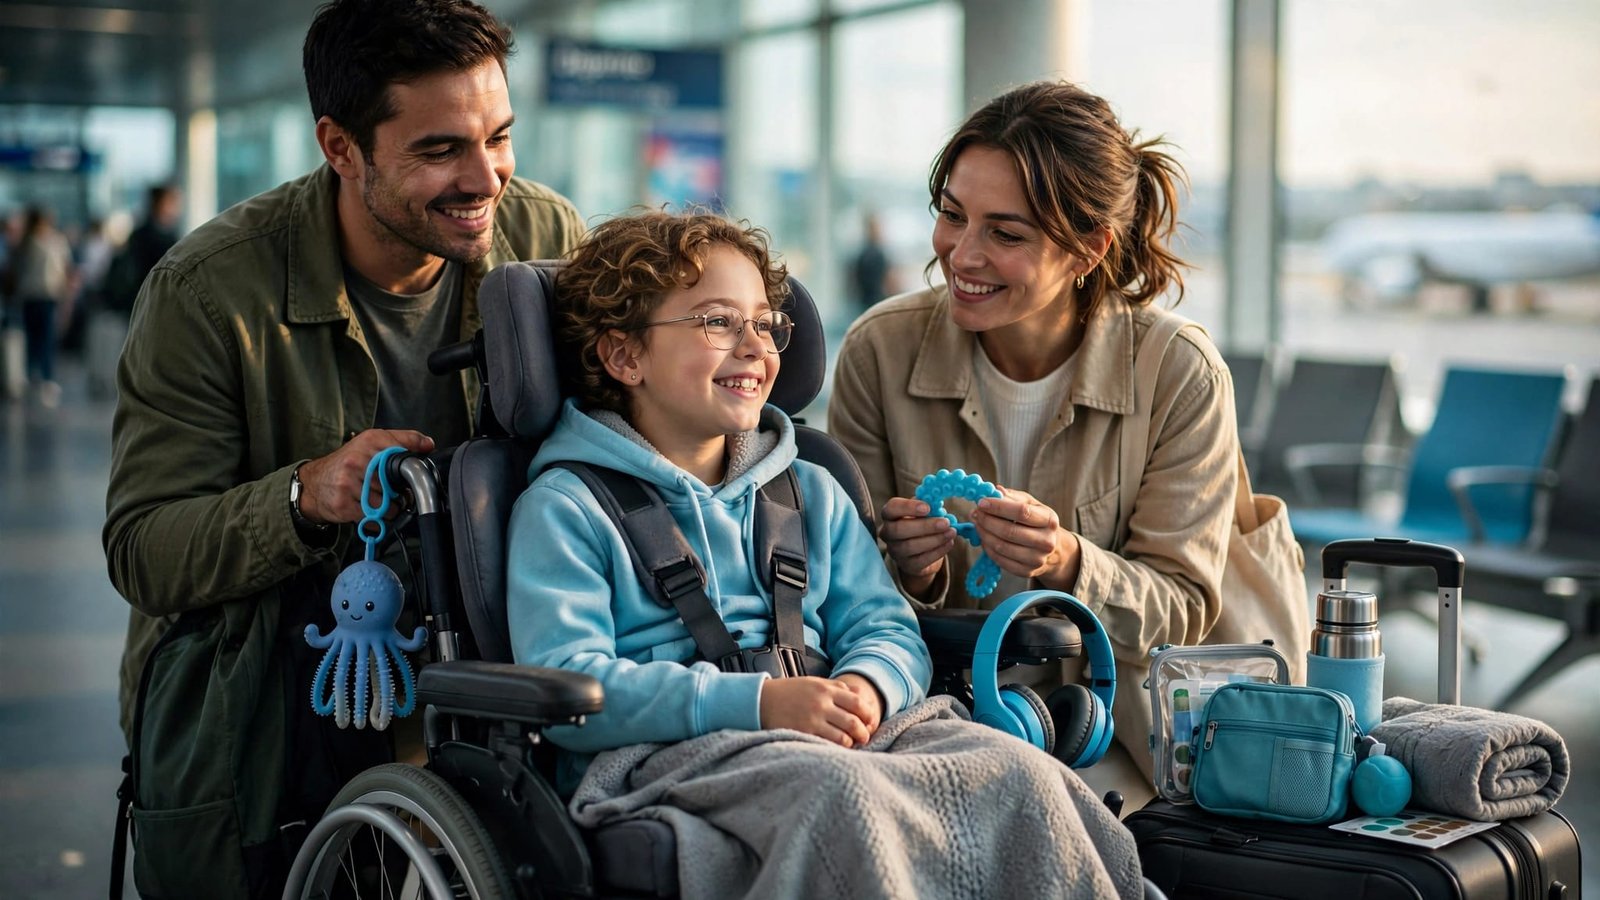
A family vacation shouldn’t feel like a test of how much everyone can handle. Traveling with cerebral palsy takes thoughtful preparation, but it can still include comfort, fun, and memories your family will share for years.
Flexible travel planning starts with your child’s real needs, not someone else’s itinerary. For family travel, design the trip around the whole family, including your child’s mobility, communication, medical needs, energy, and favorite things. Keep room to change the plan when the day doesn’t go as expected.
Key Takeaways
- Build the trip around your child’s actual mobility, communication, medical, sensory, feeding, toileting, sleep, and energy needs.
- Confirm specific accessibility details with hotels, airlines, transportation providers, and attractions before booking, then reconfirm them before departure.
- Keep the schedule flexible with one main outing, planned breaks, rest days, nearby activities, and a realistic route back to the hotel.
- Keep medications, feeding supplies, communication tools, comfort items, essential documents, and critical equipment details with you rather than in checked luggage.
- Prepare backup plans for delayed equipment, changing weather, missed connections, medical needs, and days when your child needs to leave an activity early.
Start With Your Child’s Real Needs
Before choosing flights or hotel rooms, observe what makes an ordinary day go well at home. When traveling with cerebral palsy, that information matters most.
Does your child do better in the morning or evening? Note positioning, communication, feeding, toileting, sleep, sensory preferences, and medication routines. Also note whether your child uses adaptive equipment, such as a wheelchair, gait trainer, special stroller, communication device, feeding pump, or adaptive seating.
A generic special needs checklist can’t replace a child-specific plan. Note which comfort items help, such as familiar blankets, toys, headphones, or calming tools. Record what helps your child recover after a busy outing, too.
A vacation plan should support your child, not ask your child to push past their limits every day.

Make a simple travel profile
Create a one-page travel profile before you book. Use it as a travel checklist with daily medications, feeding details, medical supplies, allergies, communication preferences, and emergency instructions supplied by your child’s care team.
For each device, list its model, dimensions, weight, battery details, and power requirements. Add medication prescriber and pharmacy contacts, then keep a photo of key equipment on your phone.
Keep the profile at the front of the travel kit. Another caregiver, airline employee, hotel worker, or rental company can understand the plan without guessing.
Plan for the energy cost of travel
A child may enjoy the beach, museum, theme park, or family cruise. The travel day can still be tiring.
Transfers, unfamiliar bathrooms, loud terminals, long walks, changes in food, and missed naps all use energy. Plan fewer major activities than you think you can fit in.
A good vacation does not need a packed schedule. One enjoyable outing and a calm afternoon can be a great travel day.
Choose a Destination and Hotel Around Access
Use destination accessibility as part of the booking decision, not a reason to trust an accessibility icon. Look beyond a website’s generic claim before making a deposit.
Ask how far the accessible room is from parking or drop-off, the lobby, and elevator. Verify the full route through the room, bathroom, pool, dining area, and transportation pickup point. A large resort can look manageable on a map but involve long outdoor walks.
For verified accessibility details when searching for accessible hotels, Wheel the World can be a helpful place to begin. Confirm the details directly with each hotel, tour operator, or transportation provider. Once confirmed, decide whether the property is wheelchair-friendly for your child’s specific needs.
Ask the hotel direct questions
Don’t settle for “yes, we have accessible rooms.” Before paying a deposit, ask for specific accessibility accommodations and confirm each feature in writing.
| Ask about | Why it matters |
|---|---|
| Actual door width and bed height | Wheelchair accessibility, transfers, and safe sleep |
| Bathroom turning space and shower type | A child’s bathing needs may require more room |
| Roll-in shower versus tub, fixed or movable bench, and hand-held shower head | Bathing setups can vary a lot |
| Refrigerator type and access | Medication, formula, and preferred foods |
| Room location and elevator distance | Long hallways and noisy areas can be difficult |
| Pool lift and accessible route | Everyone deserves time to enjoy the resort |
| Accessible dining and parking access | Meals and arrival should not require extra barriers |
| Public transportation, shuttle, and pickup access | Ask whether accessible buses, trains, shuttles, or paratransit operate near the hotel |
Ask for photos of the actual room category when possible. No single room configuration works for every child, so confirm the shower’s fixed or movable bench, hand-held shower head, and available turning space. Reconfirm these details shortly before arrival, since hotel inventory, renovations, and transportation services can change.
A kitchenette can also make travel easier. Familiar breakfasts, safe snacks, and formula preparation feel much simpler when you are not relying on restaurants for every meal.
Build a Vacation Schedule With Breathing Room
A flexible schedule makes family travel easier for everyone. Choose one main outing each day, such as an aquarium, museum, zoo, beach, cruise, or theme park. Keep one smaller option available if everyone still feels good.
A morning aquarium visit, an afternoon at the hotel pool, or a short beach walk may be more enjoyable than five attractions in one day.
Keep nearby activities together
Don’t plan a museum across town at 10:00 a.m., lunch in a different neighborhood, and a timed activity far away at 2:00 p.m. Each transfer adds parking, bathroom searches, crowds, and possible delays.
Group nearby activities to reduce transfers, and identify nearby bathrooms, elevators, shaded seating, and indoor spaces before you arrive. If you’re at a zoo, spend the morning in one section instead of trying to see every animal. At a theme park, focus on one land or one area at a time.
Put breaks on the plan first
Breaks aren’t what happens after the fun. They’re part of the fun, not a sign that the itinerary failed.
Schedule frequent breaks for snacks, toileting, repositioning, hydration, medication routines, device charging, and quiet time.
Keep a small travel kit for outings with water, snacks, communication tools, comfort supports, and spare clothing. Add medication supplies as directed by your family’s existing plan.
Before leaving, identify nearby bathrooms, elevators, shaded seating, and indoor spaces. If your child needs an afternoon rest at the hotel, plan a realistic route back to the room. A quieter hotel area, indoor attraction, low-crowd space, or shaded place can provide a sensory-friendly environment for resetting.
A full rest day after two or three busy days can protect the rest of the trip. Laundry, pool time, room service, a slow breakfast, or an unplanned activity still count as vacation.
Air Travel When Traveling With Cerebral Palsy
Air travel can feel intimidating because so much is outside your control. A few early calls can make a big difference.
Contact the airline after booking, not just at check-in. Tell them about your mobility aids, including wheelchairs, special strollers, gait trainers, and other equipment. Also explain seating needs, transfer support, and assistance your child may need between the curb and gate.
Ask whether early boarding, a preboarding window, gate-check support, or additional transfer time is available. Airlines may handle these requests differently.
Ask whether medical documentation, such as a letter or relevant records, would help explain equipment, seating, or supply needs. Airline requirements vary.
The U.S. Department of Transportation’s disability travel guidance explains protections under the Air Carrier Access Act. Airlines can’t discriminate against passengers because of a disability, though some services may require advance notice. Verify current airline procedures and advance-notice requirements before departure.
Tell the airline about mobility equipment
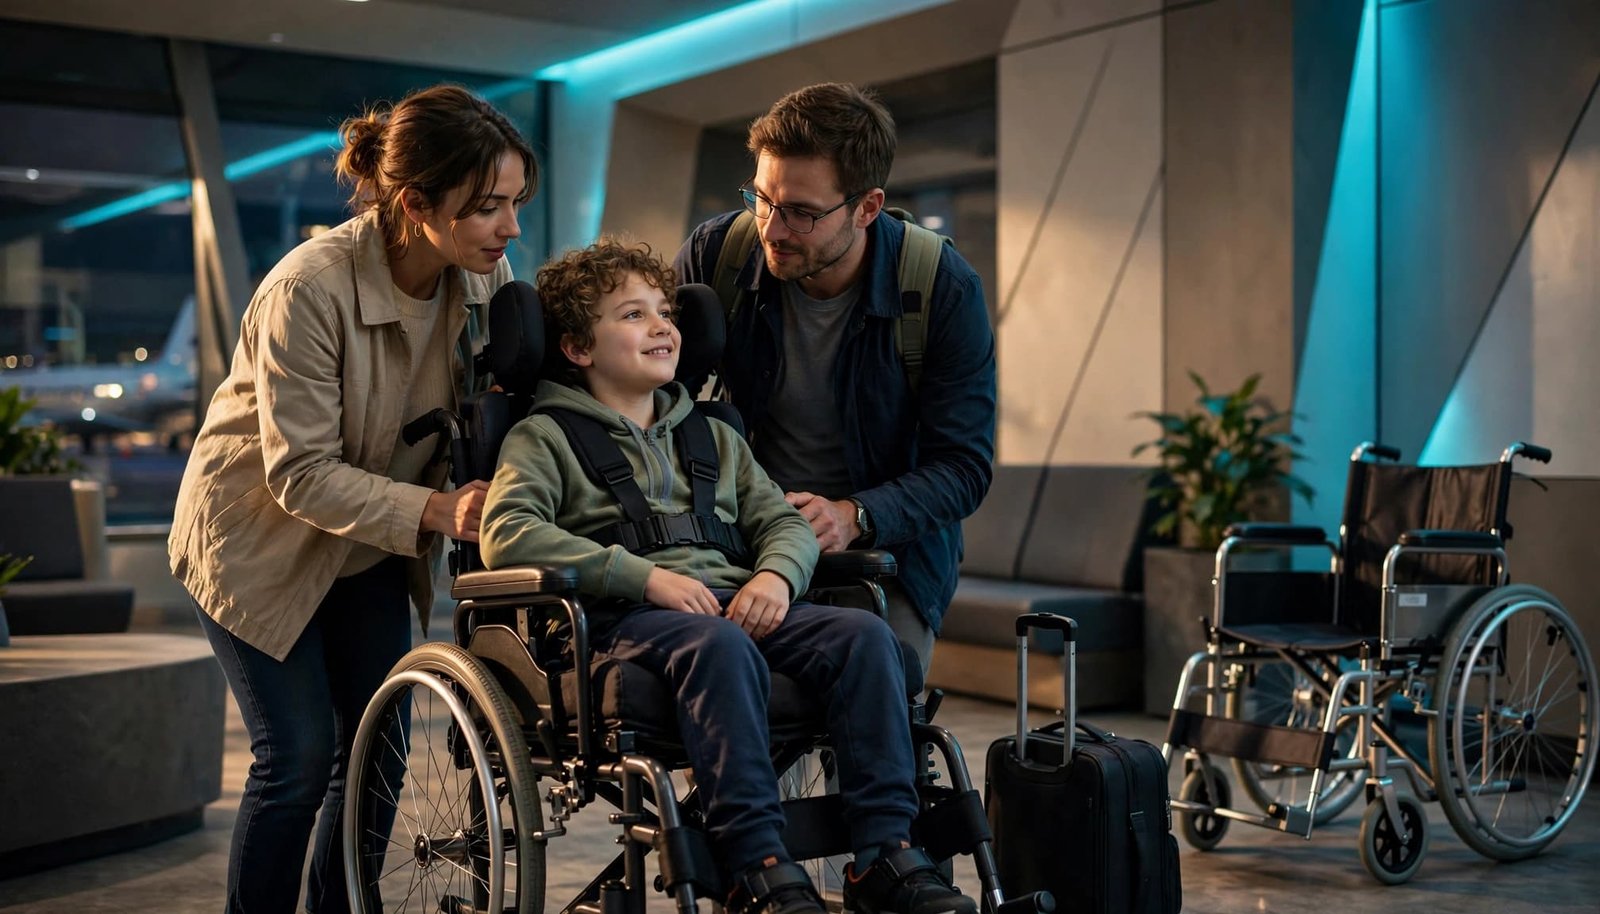
Give the airline the wheelchair’s dimensions, weight, battery type, and operating instructions. Note whether it folds, detaches, has removable supports, or needs special handling. Explain these details in writing.
Remove cushions, headrests, joystick controls, footplates, and other loose pieces if the manufacturer recommends it. Put removable parts in a labeled bag that stays with you when possible.
Take photos from every side before handing the equipment over. Include close-up photos of controls, footplates, and any existing marks. If damage happens, report it before leaving the airport.
Choose safe seating before flight day
Children who can’t sit independently may need a specific seating plan. Speak with your child’s care team about individualized seating or transfer questions. Ask the airline about approved options before purchasing anything.
The FAA states that the CARES restraint is approved for children who weigh 22 to 44 pounds and are under 40 inches tall. Review the FAA child restraint guidance and check current FAA and airline rules before relying on a CARES restraint or any other device.
Don’t assume a car-seat vest or general harness is approved for aircraft use. Airline seating rules and device approvals matter.
Make Airport Security Less Stressful
Security can be one of the hardest parts of air travel. Prepare your child ahead of time with photos, a short video, a social story, or a simple explanation of what will happen.
Tell the officer about your child’s cerebral palsy, mobility device, feeding tube, medical liquids, syringes, or communication needs before security screening begins. The Air Carrier Access Act addresses airline access and assistance, while TSA handles checkpoint procedures separately.
You may speak directly, use a notification card, or carry relevant medical documentation, but none guarantees a particular accommodation.
Request TSA Cares early
This service can arrange support for travelers with disabilities and medical conditions. Check the current request process and recommended lead time on TSA Cares passenger support, then submit a request or call as directed. Procedures can change.
A Passenger Support Specialist can’t eliminate every wait or guarantee a private screening. They can help explain the process and support a more prepared experience.
Arrive early anyway. More time gives your family room for bathroom breaks, equipment checks, and an unexpected line.
Know the rules for medical supplies
Medically necessary liquids, gels, and aerosols may be allowed in quantities larger than the usual carry-on liquid limit. They must be declared at the checkpoint and may need additional screening.
TSA’s medical and special-item list also covers medication supplies. Verify the current rules before departure. Keep formula, feeding supplies, syringes, medication, cooling packs, and communication supports together in one clearly labeled travel kit inside your carry-on.
Your child may be screened while seated in their wheelchair or beside it, depending on what works safely. Tell the officer if standing or transferring isn’t possible, and ask how screening can be completed safely.
Plan Road Trips and Ground Transportation Carefully
Road trips give your family more control, but they also bring long stretches of sitting, unfamiliar stops, and changing weather.
Map the route before you leave. Mark accessible restrooms, grocery stores, pharmacies, quiet parks, charging locations, and weather shelters. Note emergency detours and backup stops in case conditions change.
Build in regular repositioning breaks
Plan frequent breaks around your child’s positioning and comfort needs, not only the fuel gauge. A short stop for stretching, toileting, a clothing change, a snack, or hydration can reset the whole car.
Keep a small travel kit within reach with wipes, extra clothing, water, safe snacks, medication, and a comfort item. Store larger supplies in the trunk.
If you’re using a rental vehicle for road trips, confirm before arrival that it can safely fit the wheelchair, special stroller, equipment, car seat, and luggage. Confirm that any portable booster seat or other child restraint is approved, appropriate for your child, and compatible with the vehicle. If the rental vehicle is unavailable, check whether accessible public transportation, including buses, trains, shuttles, or taxis, can serve as a backup. A larger vehicle may cost more, but extra space can make every outing easier.
Pack a Medical Travel Kit That Stays With You
Checked luggage can be delayed, lost, or sent somewhere else. Your child’s daily medical needs should stay in your carry-on or within reach in the car.
Bring more supplies than you expect to use. Cross-check the contents with a travel checklist before leaving home and before each travel segment. Delays happen, pharmacies may not carry your child’s exact items, and a difficult day can mean using extras.
When possible, divide supplies sensibly between carry-on bags. Keep essential items within reach rather than in checked luggage.
What to put in your carry-on kit
Keep these items organized in a backpack, rolling bag, or medical tote:
- Medications: Daily medications and rescue medications, when applicable, in original labeled containers, plus extra doses for delays.
- Medical documentation: A current medication list, prescriptions, insurance information, relevant letters, and care-team contacts. Keep emergency contact information for clinicians, the pharmacy, insurer, lodging, airline, and local emergency services in both paper and digital form.
- Feeding: Keep feeding-tube supplies, formula, syringes, extension sets, pump chargers, backup parts, and other medical supplies with your family.
- Communication: A communication device, charger, portable battery, and a paper backup of key phrases or contacts.
- Clothing and cleanup: Extra clothing, absorbent pads, wipes, gloves, and a small cleanup kit.
- Food and feeding support: Familiar snacks, water, adaptive utensils, and safe foods for long travel days.
- Regulation and comfort: Headphones, a favorite toy, a blanket, or another comfort item your child already uses.
Plan ahead for G-tube feedings
Talk with your child’s medical team before travel about feeding times, schedule changes, formula storage, water safety, and altitude changes. Ask about backup feeding plans if a pump stops working.
Keep formula and supplies out of checked bags. Pack enough for the entire travel day, plus a buffer. If you need refrigerated storage, call the hotel, airline, or cruise line in advance.
A refrigerator isn’t always a medical-grade unit. Follow the storage guidance already provided by your care team. Bring any approved cooling supplies they recommend and check temperatures as needed.
Protect Wheelchairs, Devices, and Backup Plans
Mobility equipment isn’t ordinary luggage. Mobility aids may be your child’s way to get around, sit safely, maintain positioning, communicate, or participate in the day.
Before departure, photograph each piece of adaptive equipment and its serial number. Include wheelchairs, communication devices, seating, chargers, and specialized supports. Keep those photos, digital copies of receipts, manuals, repair contacts, and essential spare parts in an organized equipment travel kit. Put a luggage tag on each item, and label removable parts inside a pouch or cover.
If equipment is delayed or damaged
Report damage immediately to the airline, cruise line, hotel, or rental company. Photograph it at handoff and before leaving the pickup area. Ask for a written report number and keep every email.
If your child cannot safely use a standard loaner chair, say that clearly. A basic replacement may not meet their positioning or support needs.
Before an international trip, build a backup plan. Research local repair companies, equipment rental suppliers, accessible taxis, and replacement power or charging options. Ask your travel insurance provider what it covers for mobility aids, communication devices, and medical equipment. Many policies have low per-item limits or exclusions.
For each destination, check current airline, cruise line, customs, electrical plug types, medication laws, and accessible transportation rules. Confirm local emergency numbers, too. Bring prescription copies and any required letter from your child’s clinician when carrying controlled medication or specialized supplies.
Make Disney and Theme Park Days More Comfortable
Theme parks can be exciting, loud, hot, and tiring. They can also be a wonderful family vacation when you don’t treat every ride as a requirement.
Choose one or two must-do experiences for the morning. Stay in the same area of the park. Build in time for shade, snacks, bathrooms, indoor attractions, and a hotel break. Quieter attractions, indoor spaces, shade, and a hotel break can create a more sensory-friendly environment.
Before your visit, review current official park information for wheelchair accessibility. Confirm accessible routes, attractions, restrooms, transportation, viewing areas, and transfer policies. Use wheelchair-friendly routes or areas only when current official information confirms them.

Don’t turn paid tools into pressure
Disney’s Disability Access Service, virtual queues, and Lightning Lane Multi Pass are separate options. Availability, eligibility, booking procedures, and park policies can change, so check current official Disney information before your trip.
A paid return-time tool may help if your family has a few important rides. It can also become another clock to watch. Choose only the tools that reduce pressure for your family.
Keep charging cords, headphones, and devices together in one pouch. Families often remember the tablet and forget the cable. A portable charger matters when your phone holds tickets, maps, return times, and food orders.
Helpful ebook resources: These guides may help families planning for autism-related needs alongside mobility or communication considerations. Optional resources include the Disney World with Autism Guide: Etsy PDF, available through the Disney World with Autism Guide on Etsy for planning ideas. The Disney World with Autism Guide: Amazon ebook edition is available through the Amazon edition of the guide for families who prefer that format. These guides aren’t official Disney materials or necessary for every family. Verify current park policies directly before relying on their suggestions.
Bring the supplies that save the day
A theme park travel kit should be practical, not perfect. Pack wipes, spare clothes, medication, snacks, and water.
Add charging cables, sensory supports, familiar comfort items your child already uses, and feeding or toileting supplies. Noise-canceling headphones may help manage sound, but only if your child likes using them.
For travel basics, replacement items, stroller needs, and vacation cleanup supplies, visit the Trip Rescue Shop. A small backup plan can save a vacation day when someone gets sick, soaked, or uncomfortable.
Leaving early is always an option. The best Disney memory may be a favorite ride, a character wave, a pool afternoon, or a calm dinner together.
Frequently Asked Questions
How can I choose an accessible hotel for my child?
Ask the hotel about specific features, including door width, bed height, bathroom turning space, shower setup, refrigerator access, and the distance to elevators and drop-off areas. Request photos of the actual room when possible and confirm the details in writing before arrival.
What should I keep in my carry-on when traveling with cerebral palsy?
Keep daily and rescue medications, medical documents, feeding supplies, communication devices, chargers, extra clothing, familiar foods, and comfort items in your carry-on. Pack enough essential supplies for delays and keep them within reach during flights or road trips.
How can I make air travel less stressful?
Contact the airline after booking to discuss mobility equipment, seating, transfer support, preboarding, and gate-check procedures. Request TSA Cares support early when appropriate, arrive with extra time, and explain your child’s communication, mobility, feeding, or screening needs before security begins.
How should we plan theme park days?
Choose one or two priority experiences, stay in one area, and schedule shade, snacks, bathrooms, indoor spaces, and hotel breaks. Accessibility routes, attraction policies, return-time tools, and other services can change, so check the park’s current official information before your visit.
A Family Vacation Can Still Feel Like a Vacation
Family travel is easier when your plans respect your child’s actual needs. Choose the right room, protect rest time, keep essentials close, and ask questions before you travel.
You don’t need to do everything. You need a trip that feels comfortable, supported, and enjoyable for your whole family.