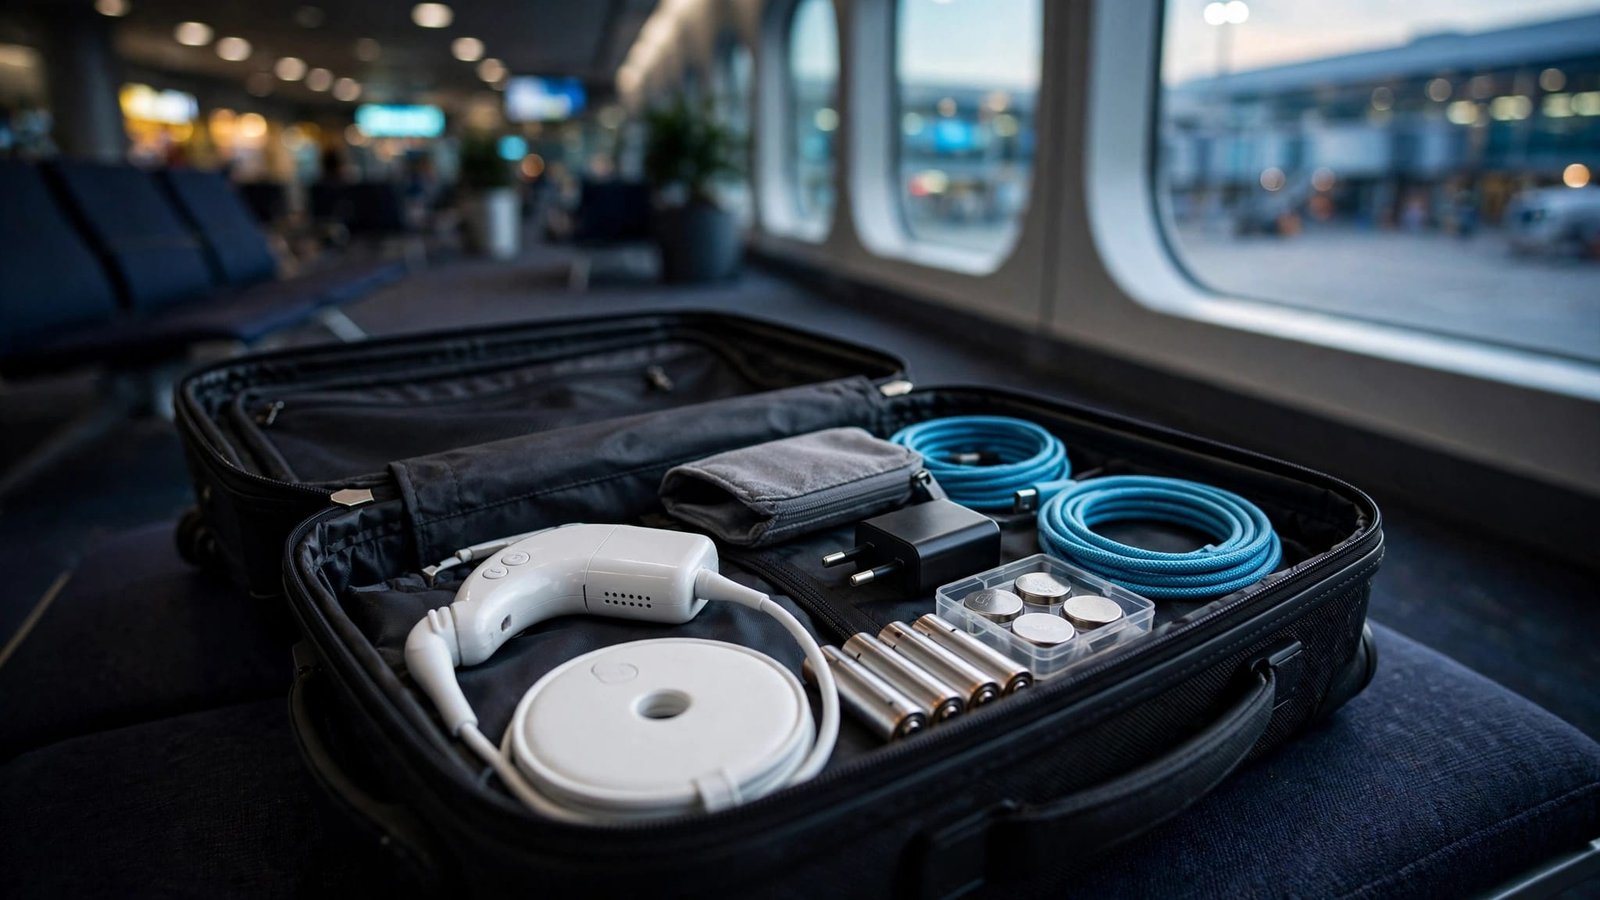
A family trip can feel stressful when one missing charger could change the whole day. A good plan for traveling with a cochlear implant keeps your sound processor working, your backup supplies close, and your family ready for delays.
You don’t need to plan every minute around the device. You do need to check a few details before you leave, especially if you’re flying or traveling internationally. Start with the equipment your family depends on most.
Key Takeaways for a Smoother Trip
- Keep processors, spare batteries, chargers, and essential cables in carry-on baggage, where you can reach them.
- Check rules for lithium batteries and flight mode instructions for your exact processor before travel day.
- Tell airport security staff about the implant if screening raises a question. Allow time to check the processor afterward.
- Save your audiologist’s contact information and make a backup plan before you leave home.
Build Your Cochlear Implant Travel Plan Before Departure
Check what works before you pack
Charge the processor, test your spare batteries, and check that each charger and cable works. If your family has a backup sound processor, make sure it’s ready for the person who will wear it. A spare that hasn’t been checked in months isn’t much comfort at an airport gate.
Ask your audiologist what to do if the processor stops working away from home. Save the clinic number, manufacturer support details, and your processor model in your phone. Keep a printed copy with your travel documents in case your phone loses power.
For an international trip, check the destination’s plug type and your charger’s power specifications. A plug adapter changes the shape of the plug; it doesn’t automatically make every charger suitable for a different electrical supply.
Give everyone a simple plan
If your child uses the implant, explain what will happen at security in words they understand. Let them know an officer may ask about the processor and that you’ll have time to reconnect afterward.
Agree on a way to communicate if the processor is off or isn’t working. A gesture, picture card, or short written note can help during a busy travel day. MED-EL’s travel tips for implant users are another useful prompt when checking your preparations.
Keep Essential Equipment in Your Carry-On
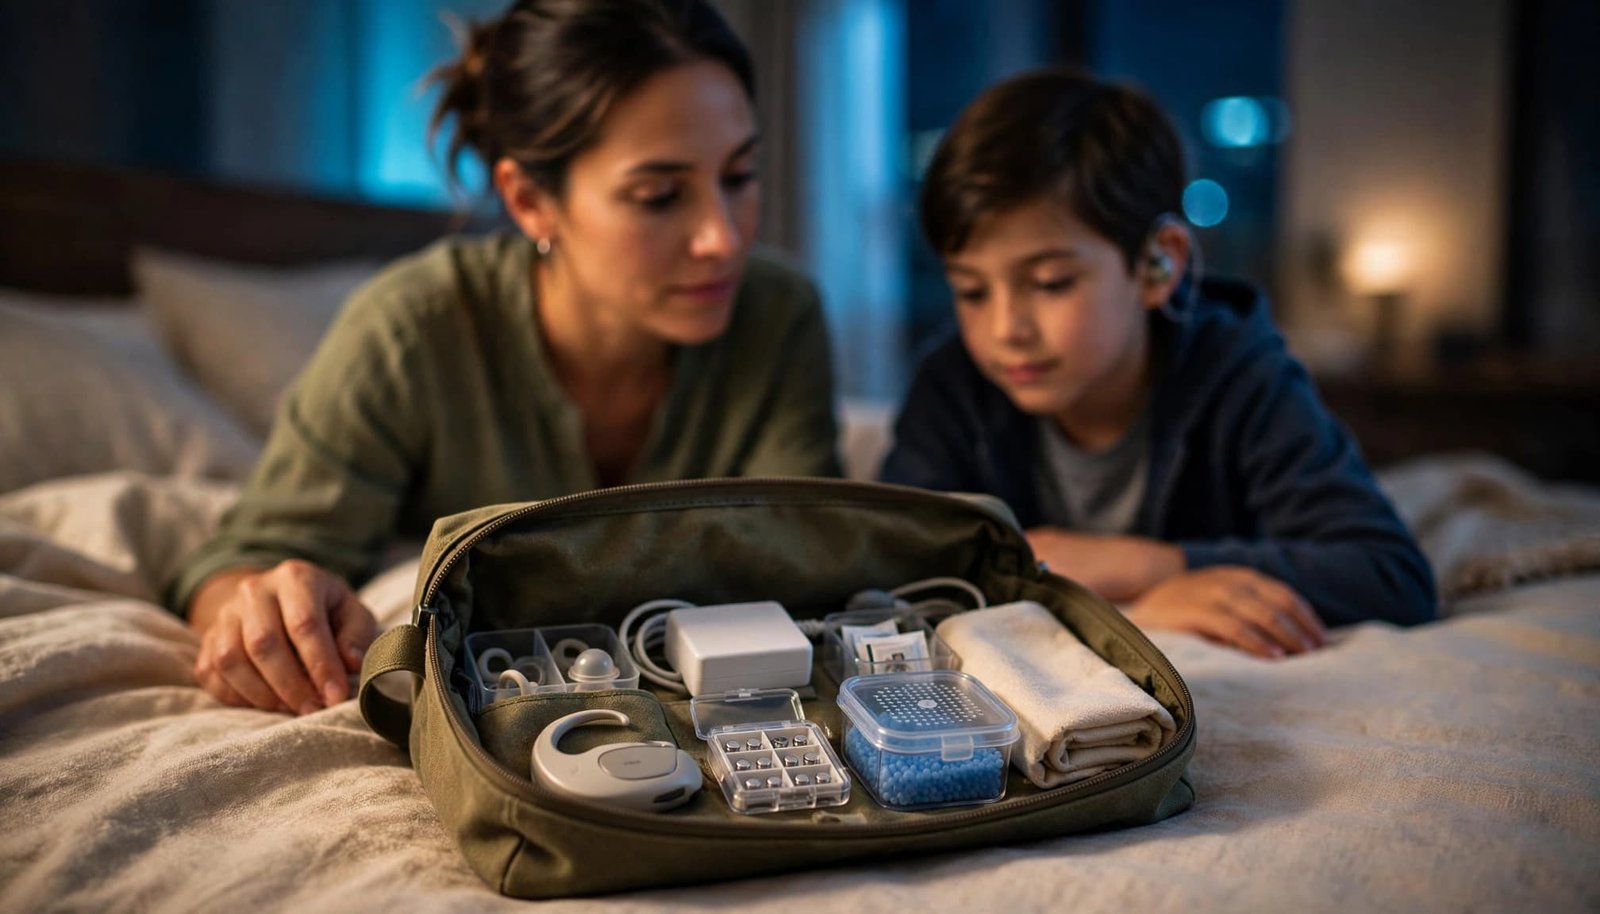
Pack one pouch you can find quickly
Checked luggage can be delayed. Gate-checked bags may be out of reach until you land. Keep essential equipment in the bag your family carries onboard, including what you need during the flight and your first day away.
Your cochlear implant travel pouch may include:
- A backup sound processor, if you have one, plus a compatible coil or other spare parts.
- Compatible rechargeable batteries, zinc-air batteries if your device uses them, and an approved battery charger.
- Charging cords, a drying kit, and any accessories you regularly use.
- A patient ID card or device information sheet, along with support numbers.
Check the pouch against the equipment you use at home. Make sure backup equipment and batteries are compatible with the wearer’s device, and follow current manufacturer instructions. Cochlear’s personal travel packing account is a reminder to bring the small backup parts that are easy to overlook.
Spread out the backups
If two adults are traveling, you can divide supplies between their carry-on bags. Keep the everyday processor and the batteries needed for the flight together, then place extra compatible supplies with the other adult. Everyone should know which bag holds what.
Keep medications, communication supports, and comfort items within reach too. If your child needs headphones, a familiar snack, or a picture schedule, don’t bury them under a week’s worth of clothes.
Know the Battery and Charging Rules
Treat lithium batteries differently from zinc-air batteries
Under FAA passenger rules, spare lithium batteries and power banks belong in carry-on baggage. Protect each spare against short circuits, for example by keeping it in its original packaging or a protective case. If an airline asks you to gate-check your carry-on, remove the spares and power banks first.
FAA rules generally allow lithium batteries rated up to 100 watt-hours when they’re lithium-ion. Spare batteries rated from 101 to 160 watt-hours require airline approval, with a limit of two. Batteries above 160 watt-hours aren’t permitted in passenger baggage. Check the rating of any larger power bank you plan to bring, and don’t guess from its size.
Zinc-air batteries are disposable, unlike rechargeable batteries. Pack enough for your trip and possible delays, but check your airline’s current guidance rather than assuming the same quantity is allowed everywhere.
Make a realistic power plan
Count how many charges or battery changes your family normally needs in a day. Then allow for long travel days, late arrivals, and time away from an outlet. Test your charger and any portable charging device with your actual equipment before departure.
For cruises, check the cruise line’s current rules for power strips and extension cords. For international travel, confirm outlet types and charger specifications before buying a power adapter. An adapter changes how the plug fits, but it doesn’t convert voltage, so check that your charger is compatible.
What Happens at Airport Security?
Tell the officer what you need
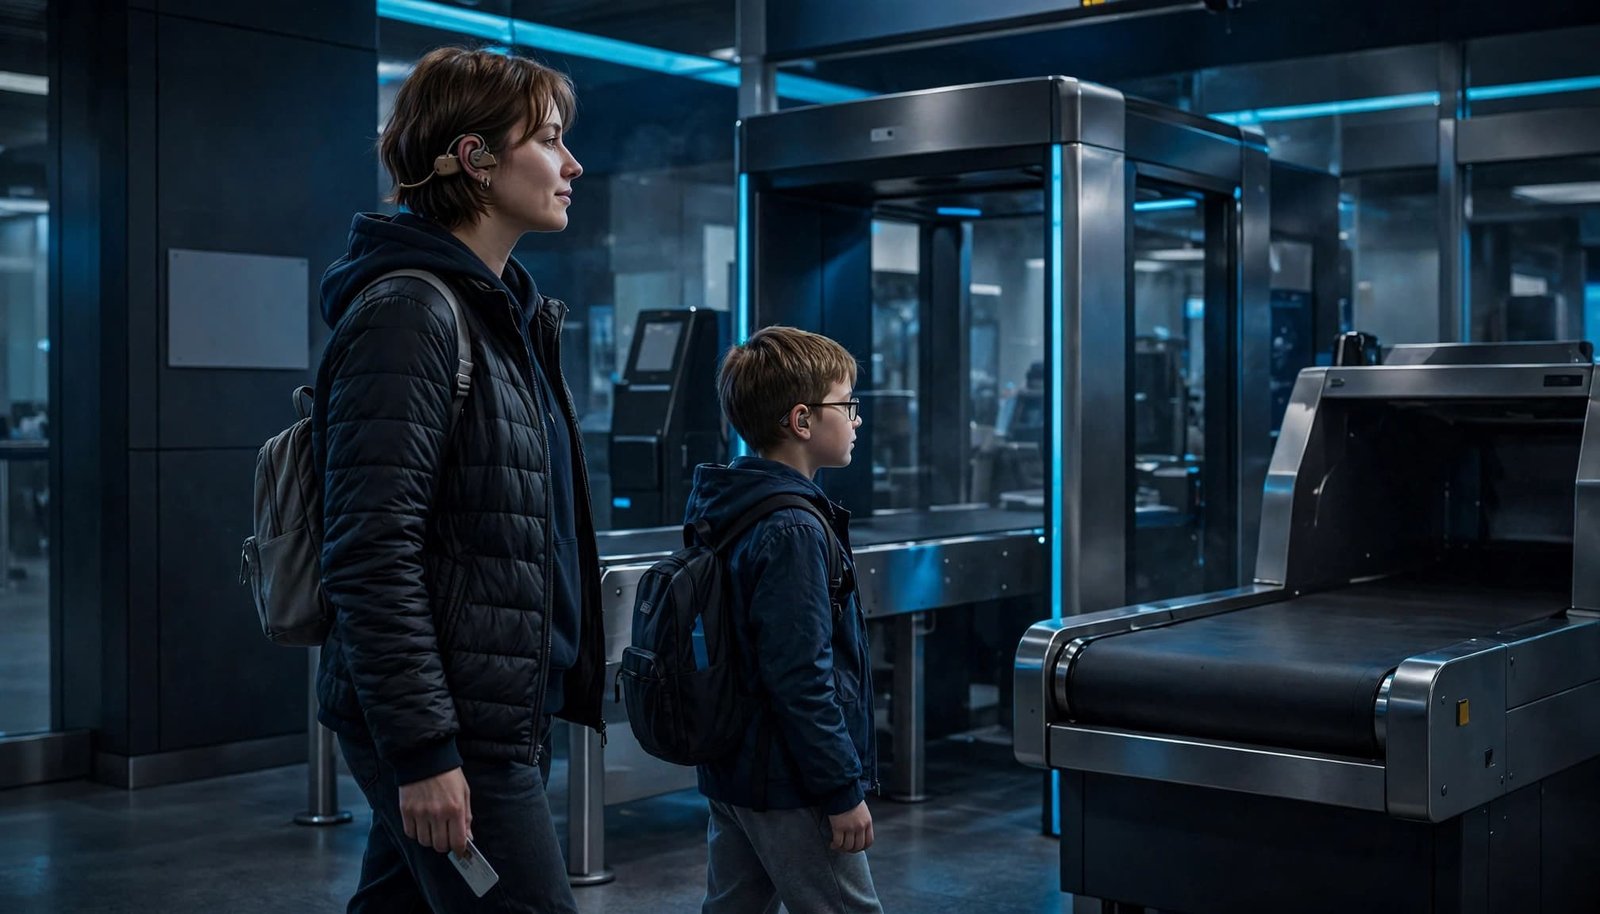
An implant or sound processor may prompt an alarm or questions during airport security. Tell the officer that you or your child uses a cochlear implant, and show a patient ID card if you have one. The card helps explain the device, but it doesn’t replace screening.
Follow the manufacturer’s guidance for your device, as screening recommendations may vary. MED-EL notes that some metal detectors may create sounds heard by the implant user. If your family is concerned about a particular screening method, ask an officer about available options and follow the instructions for your exact processor.
If your child also has sensory or communication needs, explain those needs briefly. For U.S. airport screening, TSA Cares can help families prepare when contacted ahead of travel. It doesn’t remove screening or promise a particular result.
Pause and reconnect afterward
Once screening is finished, find a quieter spot and check that the processor is on, seated properly, and set as expected. Give your child a moment to settle before heading to the gate.
A brief stop matters if the scanner’s sounds were uncomfortable or the processor was turned off for screening. Your family doesn’t have to sort it out while moving through a crowded line.
Flight Mode and Airplane Audio Depend on Your Processor
Follow instructions for the exact model
Flight mode isn’t a universal switch across cochlear implant brands. Before a long flight, check the current instructions for your exact audio processor model and practice the steps at home. Follow the airline’s guidance for wireless accessories, too.
MED-EL gives different sequences for its RONDO 3 and SONNET 2 and 3 processors. For RONDO 3, its flying guidance for cochlear implants says to switch the processor off, wait at least two seconds, then switch it on and wait for the first blue blink. Repeat that sequence three more times. A brief red blink confirms flight mode.
For SONNET 2 and SONNET 3, MED-EL’s flight mode steps are to switch off, wait two seconds, switch on, wait two seconds, and repeat the sequence three more times. Red blinking confirms activation. Check the SONNET 2 handling instructions for your device, and follow its current instructions to turn flight mode off after landing. Don’t apply these steps to an older or different processor.
Check entertainment connections before boarding
Don’t count on a standard cable connecting your sound processor directly to an airplane seat screen or entertainment system. Processor accessories and aircraft audio connections vary. Ask your audiologist or manufacturer which approved option works with your equipment, and test it before the trip.
Download entertainment to a familiar device if that suits your family, and pack its charger nearby. A flight is much more comfortable when no one has to solve an audio connection problem after boarding.
Make a Backup Plan for Problems Away From Home
Know whom to call first
If an audio processor is lost or stops working, use compatible backup equipment if available. For a malfunction, check simple things your care team has shown you, such as battery charge, connections, and the charging device. Follow manufacturer instructions and avoid unapproved repairs.
If you can’t resolve the issue or locate the equipment, contact your audiologist or the manufacturer’s support team. Save the processor model and serial number where you can find them. If your trip crosses time zones, note the support team’s hours before departure.
Ask your travel insurer how it treats medical equipment. Per-item limits or exclusions may affect an expensive processor or accessories. Keep receipts and device information together if you might need to make a claim.
Ask about a loaner before you travel
Cochlear describes a chargeable Cochlear Travel Programme on its UK travel information. Terms and availability may differ elsewhere, so don’t assume a loaner device will be available at your destination. Ask your regional Cochlear team about eligibility, costs, timing, and return requirements well before your holiday.
A loaner is only useful if it fits your circumstances and arrives when needed. If no suitable option is available, talk with your care team about the best backup plan for your trip.
Plan Days Your Family Can Enjoy
A comfortable itinerary leaves room to check equipment, change batteries, and take a break. Put the day’s supplies in the same pouch each morning. That simple routine helps every caregiver find them.
Before swimming or other water activities, check the exact audio processor and accessory water-protection instructions. Don’t assume the processor is waterproof or that a protective accessory suits every activity. Plan where you’ll keep the device and how you’ll protect it when it isn’t being worn.
If you’re visiting Disney with a child who also has autism or sensory needs, plan around their familiar supports. Our Disney World autism planning guide offers travel tips for flexible park days and sensory preparation. The Disney World with autism ebook is available on Etsy and Amazon. These resources don’t replace your audiologist’s device advice.
K&S The Travel Crusaders offers special needs travel planning for families shaped by firsthand family experience and real-world trip planning. Kellie also has a B.A. in Child Development. For practical extras, Trip Rescue Shop carries travel items including strollers and cleaning supplies for sick days away from home.
Frequently Asked Questions
Can airport security metal detectors damage a cochlear implant?
Routine airport screening isn’t expected to damage the implant, according to manufacturer guidance. Metal detectors may trigger an alarm or cause an unpleasant sound for the user. Tell the officer about the device and show a patient ID card if you have one. Follow your manufacturer’s advice and check the device afterward.
Should spare batteries go in checked luggage?
Keep essential batteries with you. FAA rules require spare lithium batteries and power banks in carry-on baggage. Protect them against short circuits, and remove them if your bag is gate-checked. Check current airline guidance for other battery types.
Does every sound processor need flight mode?
Requirements and controls depend on the sound processor, its wireless features, and airline instructions. Check your exact model before travel day. If you’re unsure, review the manufacturer’s current instructions or consult your care team rather than trying another model’s button sequence on the plane.
Leave Room for the Trip
That missing-charger worry gets smaller when you’ve tested your equipment, packed the essentials within reach, and saved a number to call if something fails. A clear backup plan gives your family more room to enjoy the day.
Keep the plan simple enough for every caregiver to follow. Then you can spend less time searching through bags and more time together.
Leave a Reply